Bottle Opener
Three-Legged Table
Metal Rose
Pineapple Twist
Iron Heart
Tools
Bottle Opener
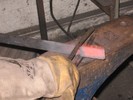
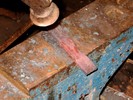
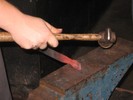
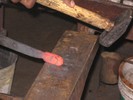
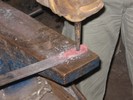
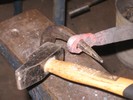
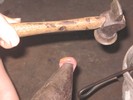
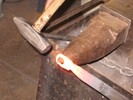
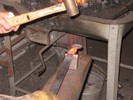
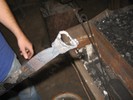
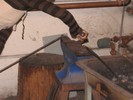
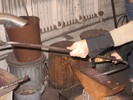
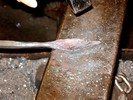
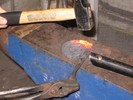
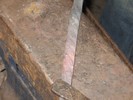
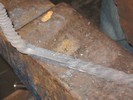
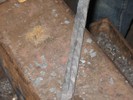
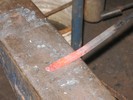
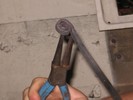
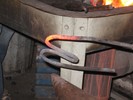
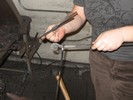
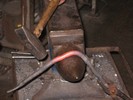
The first student project assignment was to make a bottle opener. Start with a piece of bar stock 1/4"x1", and put a notch in it 1.5" from the end. This will become the neck between the handle and the opener. Use a spring fuller to neck the material at that point down to 0.5" wide. Hammer a taper into what will be the handle of your bottle opener, up to the area that was just fullered.
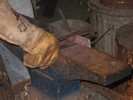
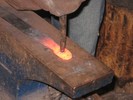
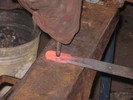
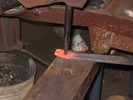
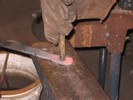
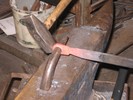
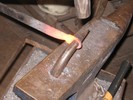
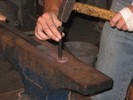
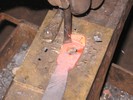
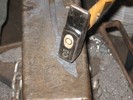
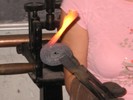
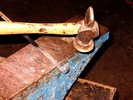
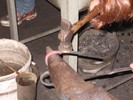
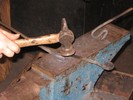
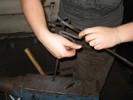
Start rounding off the corners at the end, by hammering on them at a 45° angle. Use a punch to begin to create a hole in the center of the bottle opener head. Continue to heat and punch until you are approximately 3/4ths of the way through, then flip the stock over and punch through the other side. When you are close to punching through the material, place the piece over the pritchel hole. This way, when you do punch through, the punch will not damage the anvil face or shatter. Continue to use the punch as a drift to open up the hole, until it is big enough to fit on the horn. Hammer the drift into the material over the pritchel or hardy hole. Flip sides every heat to prevent unwanted distortions. Extra hands may be needed to hold the punch steady while hammering. A hardy horn can be used to open the hole, as an intermediate step between the drift and the anvil horn.
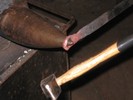
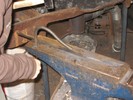
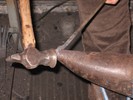
Widen the hole using the horn of the anvil, a small hardy horn, or a succession of larger drifts, until is is roughly the size of a bottlecap. It should have a roughly round cross-section. While hammering using the horn, the majority of your blows should be around the circumference of the piece, not on the faces. You do not want your piece to become thin and weak during this operation. Only hammer on the faces to correct unwanted distortion created by hammering on the horn.
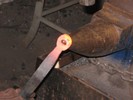
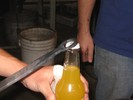
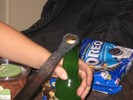
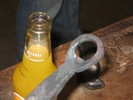
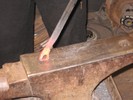
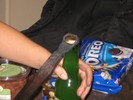
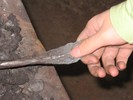
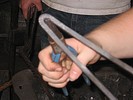
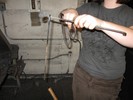
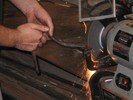
Form the tab for lifting the cap using a blunt punch, pushing the metal towards the hole. Test the result on a bottle to see if anything needs altering or neatening up at this point. Cut the workpiece off the stock, leaving 4-6" after the neck as a handle. A hardy or hacksaw can be used. Tidy up the corners and faces, as needed. Crack open a cold soda and enjoy! The finished bottle opener.
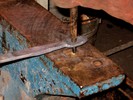
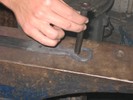
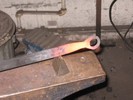
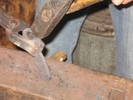
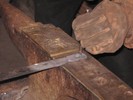
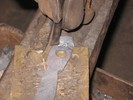
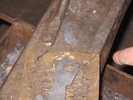
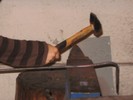
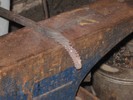
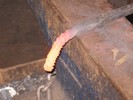
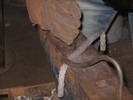
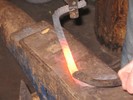
This student punched a hole too far from the end of the piece, and decided it would be easier to remove the extra metal than even it out. Using a sharp punch, a curved cut is started and then reinscribed until the cut is complete. Note the use of a bronze plate to preserve the anvil face and punch tip from damage. Leaving the piece in the fire too long or at too high a temperature can melt the metal, deforming the shape and weakening the structure. Here, the student successfully salvaged the opener.
Three-Legged Table
The student TA for the course designed and built a table with three curved legs. First, measure the legs to define when the curves should begin. Is this a comfortable height? Then make the legs with a right-angle bend at the top, and a curve at the bottom. To avoid buckling, align the top and bottom supports. To finish, the legs need to be welded or fastened together, and a glass top added.
Metal Rose
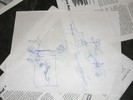
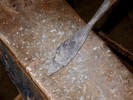
Sketching the design helps identify problem areas and estimate how much stock is needed. Here, a thin cross peen is used to spread the metal into a leaf shape. Use the hammer's face to flatten the dents made by the cross peen.
This piece needs to be clamped aggressively, so it doesn't move while veins are incised with a cold chisel. On the other end of the bar, a tight scroll is formed. Re-working metal too much runs the risk of weakening or melting it. Fire management is especially important when working with small, thin sections of metal.
Pineapple Twist
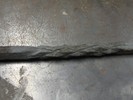
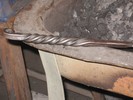
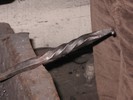
One end of a square bar is twisted and curved, then the other. A cold chisel is used to make a groove in all four faces of the bar. Then the grooved section is twisted, and hammered to create four new faces in line with the original faces. A second set of grooves is chiseled.
Finally, the middle section is heated and twisted halfway back towards its original position. The finished twist resembles the bumps on a pineapple.
Iron Heart
To implement this classic brainteaser, measuring the dimensions accurately is important. It consists of a heart, a twisted bar, and a U-shaped piece with loops in each end. A taper is drawn and coiled up to form the wide end of the twisted bar.
The inner point of the heart needs to be wide enough for the twisted bar to pass through. Then form the rest of the heart. Bending the stock into a precise shape is typically an iterative process. Heating only part of the metal at a time, to limit where deformation occurs, is helpful.
The final part of the toy requires making a loop large enough for the inner point of the heart to pass through. Putting it all together, the pieces fit!
Tools
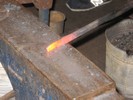
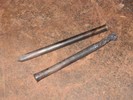
Tools in the forge are often made or repaired there, and display various decorative effects. Managing fire temperature can be difficult, and mistakes can melt the workpiece. This was going to be a new punch.
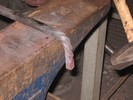
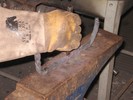
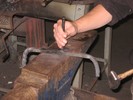
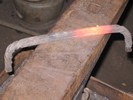
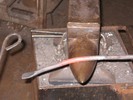
Having enough hold-downs is helpful when doing lots of work with punches and other hand-held tools. Luckily, they're not hard to make. First, flatten one end of the bar. Next, curve the bar up and over into a perpendicular post for the hardy hole. Last, neaten up the end to remove any sharp corners.

